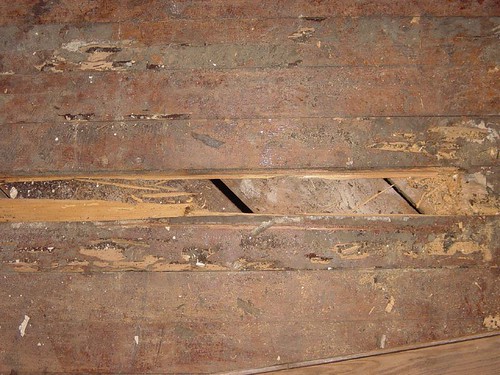
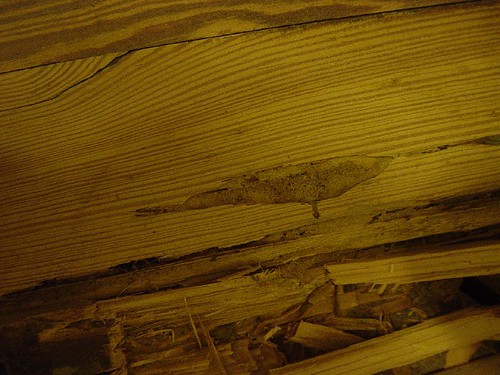
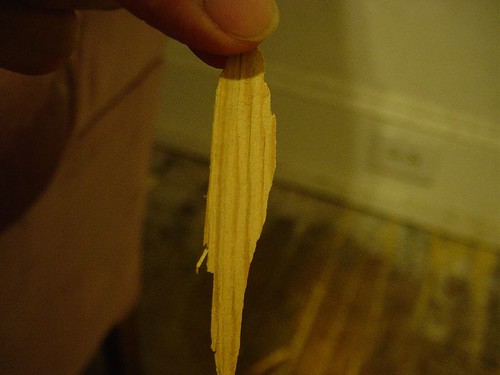
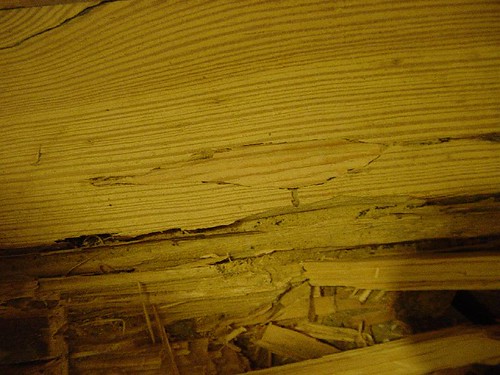
Well today I decided to pull up some of my wood flooring that had been damaged by termites. I went online and read a few articles on the 'how to do's' of replacing floor boards. It seemed easy enough, drill a few holes and then use the handy circular saw to cut a few lines down the board, then you just pry up and voila - a hole in the floor! In reality, I drilled the holes, then used the circular saw only to hit the nails that were used to secure the floor boards in the first place. Then after totally screwing my circular saw, I tried to pry the board up. Too bad the board came up in only pieces and I had to scrape and dig to get every bit out. Even then I still need to use a chisel to straighten the good board with the holes I drilled in. But eventually I got a few boards up. Now onto the successful part of the day. Patching holes that termites made. WOOHOO! Well after the tremendous amount of time it took to take up one board, I started to dread thinking about pulling up all the boards that have been damaged. So I decided I would try to patch some areas that weren't that badly damaged. I took a piece of wood that I had previously pull out and I started to scrape it into the shape I needed to patch the board with. The area isn't all that big, so it was a good practice piece. It didn't take long to shave off a little at a time until I got the right size. After I was done, I just plopped the sucker into the hole and I was pretty happy with the end results. Here are some pictures of the wood pulling and patching. Enjoy!


0 comments on "Patching and removing wood floors"
Post a Comment